Drone and UAV Technology Reviews, Articles, News, Build Logs
This project has been a great, but frustrating learning experience. I started off with the hopes of designing and printing my own 3D printed frame for a 5″ FPV quadcopter. I originally designed it to be a 4S setup so I could use the motors I received in my last and final FPVCrate. FPVCrate is a drone part subscription service. First problem, one of the motors turned out to be bad, and I fried two separate 4in1 ESC’s. Talk about mad!

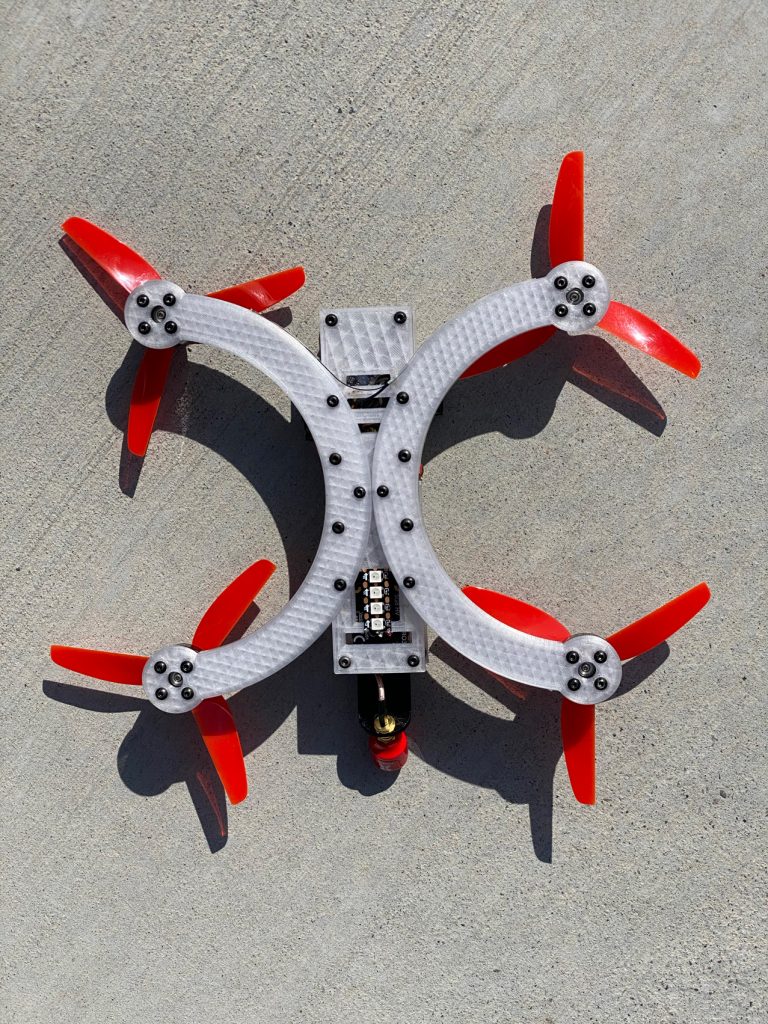
After resolving the motor issue, I ended up switching to 6S power and discarding the 4S motors. I went with some very cheap EMAX motors I found on closeout. Had to wait for the slow boat from China, but the 9 motors eventually arrived. With motors in hand I pulled all the electronics off the 4S and installed the new motors, upgrading to 6S.
The maiden flight was interesting. It flew for about 13 seconds but something wasn’t right. When I picked up the quad the ESC and motors were so hot they were literally melting the 3D printed frame. I eventually concluded that the frame was not stable enough, causing micro-vibrations. Those vibrations caused the flight controller to try to over-compensate and nearly fried the motors.
Rooster
At that point I figured a 3D printed racing drone frame was not the way to go. So I looked around and found a cheap clone Rooster frame on Amazon for $28. It was very highly rated and for good reason. It is solid.
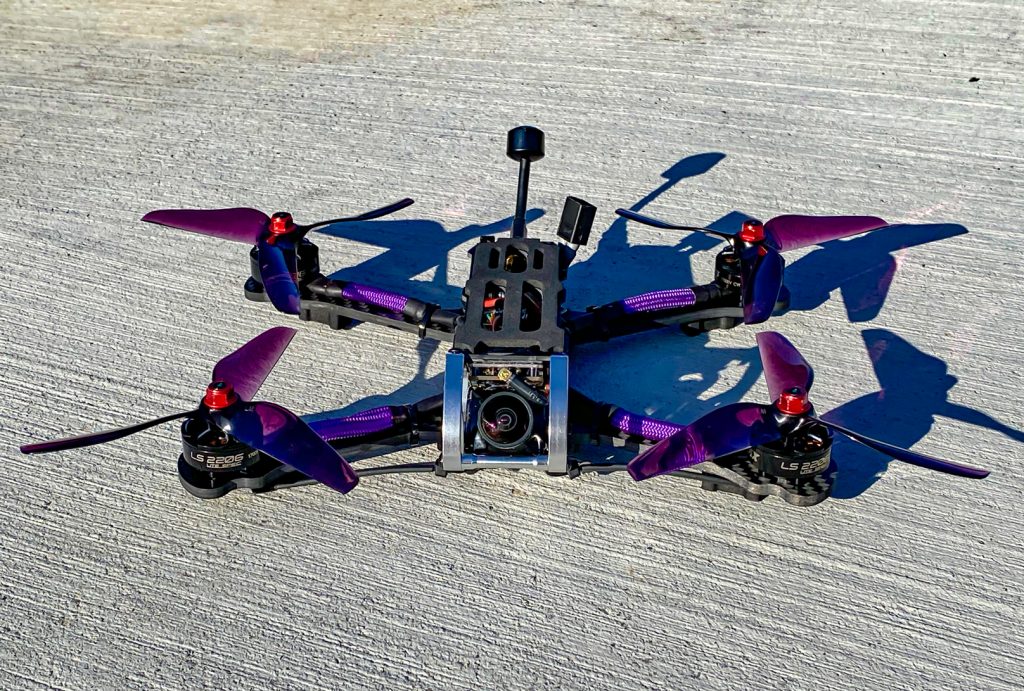
I had two more hurdles to jump though. During the rooster build process I found that I had one more bad motor and a defective ESC. After replacing both the motor and ESC, the bird finally flew.
I took the quad out to a park and was thrilled to find that it really ripped was very agile. But there was one problem left to solve, no on screen display (OSD). At that point I realized I’d wired the camera directly to the video transmitter.

Oops. So I had to rip the whole thing apart to rewire that part. Another park flight is coming, but now I’m fairly sure the quad is done.
Parts
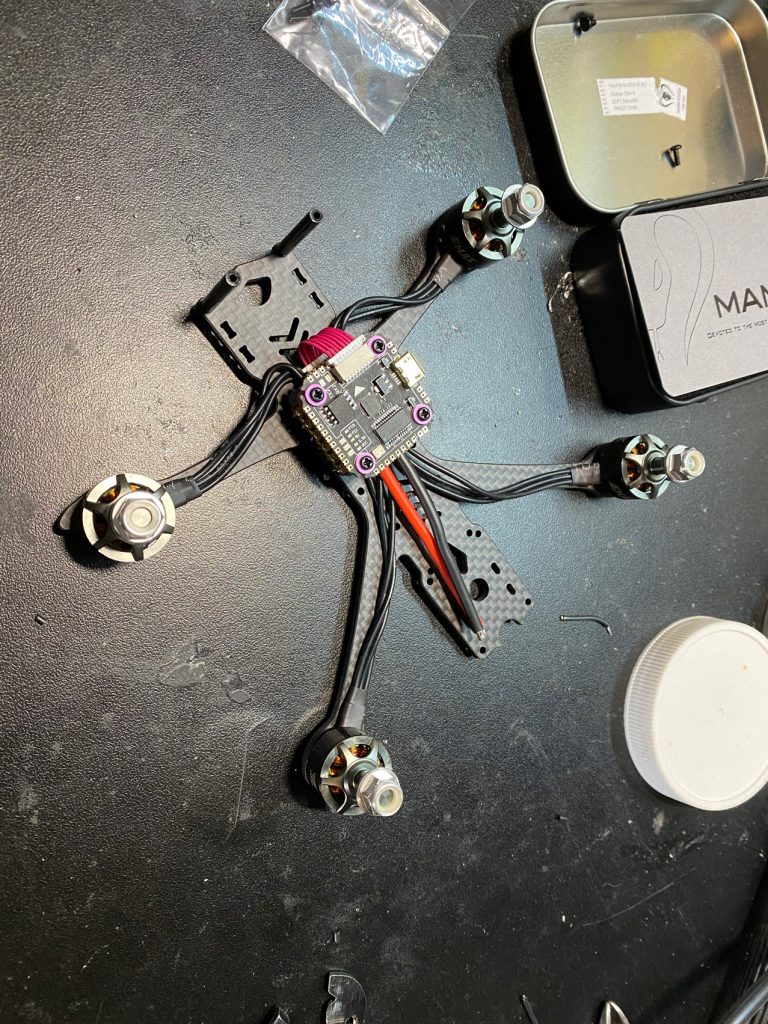
I think this may have been my first build which I started and completed, and successfully maidened in one day. I’ve wanted to have a DJI HD FPV based quad that was smaller than the two 6S 5″ quads I currently have. Something more portable, and able to fly in smaller areas.
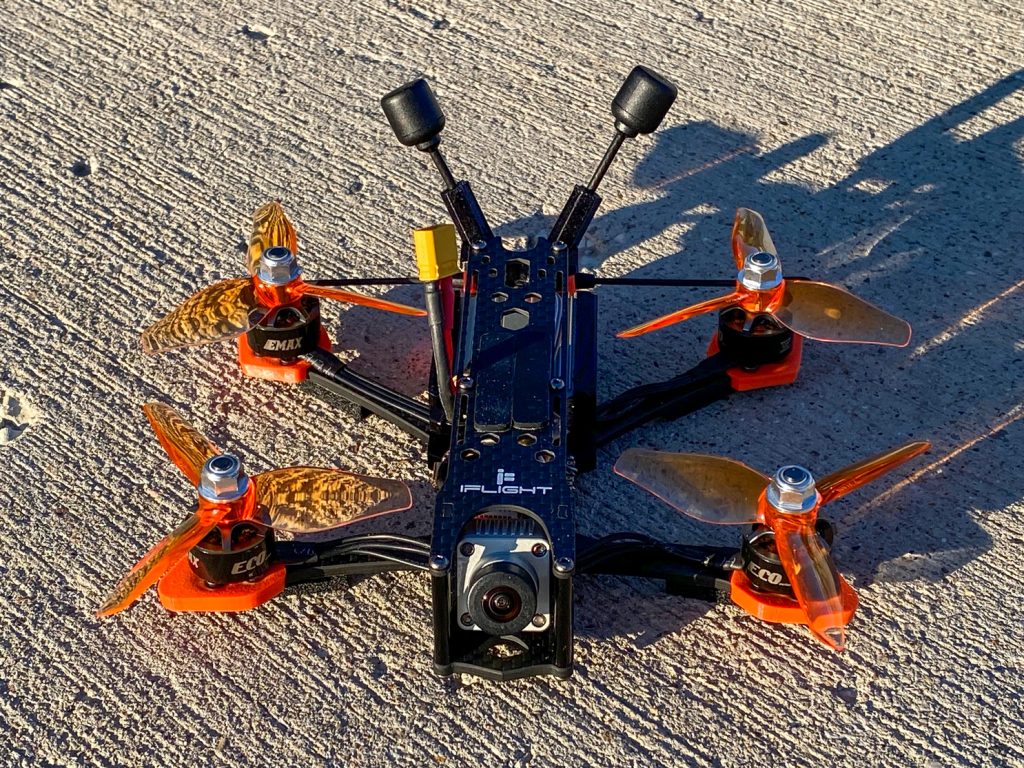
iFlight DC3 HD Frame
The frame is the iFlight DC3 HD. DC stands for “deadcat,” which is an arm design which results in the camera having no props in view.
Deadcat designs are what many cinematographers choose.
FPV
I’m hooked on DJI’s FPV system because of numerous reasons, including the clarity of the FPV view in the goggles, recording HD 4K video on board, and elegant interfacing. So that’s why I chose the system for this build.
Receiver
For my receiver I’m using TBS Crossfire. I’ve seen the light with TBS Crossfire and its long range capabilities. I’ve essentially vowed that from now on I will be using Crossfire for all my builds. This small quad has Crossfire, as well as the Immortal T antenna.
Motors/Power
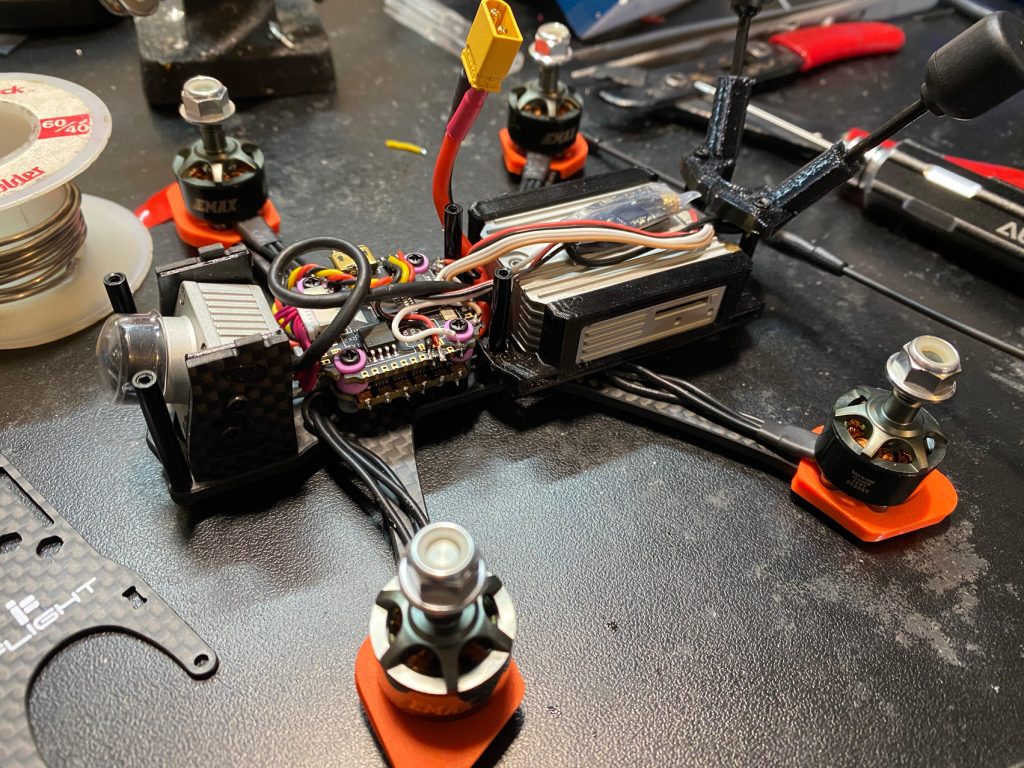
I’ve been testing out some EMax motors recently. I decided to go with the Emax ECO Micro Series 1407 motors at 2800kv. Based on that one might guess that I decided to run the system on 4S battery power.
Currently my battery of choice is a CNHL 4S 650MAH.
Stack
For the flight controller and 4in1 ESC I went with the Diatone Mamba Stack F405US MK3 Mini F35. I have a couple of other Mamba ESC’s in quads and I’ve been satisfied with their performance. The stack is capable of running 6S.
3D Printing
I found some arm bumpers/motor soft mounts online to 3D print. I also designed a 3D printed set of mounts for the Crossfire Immortal T.
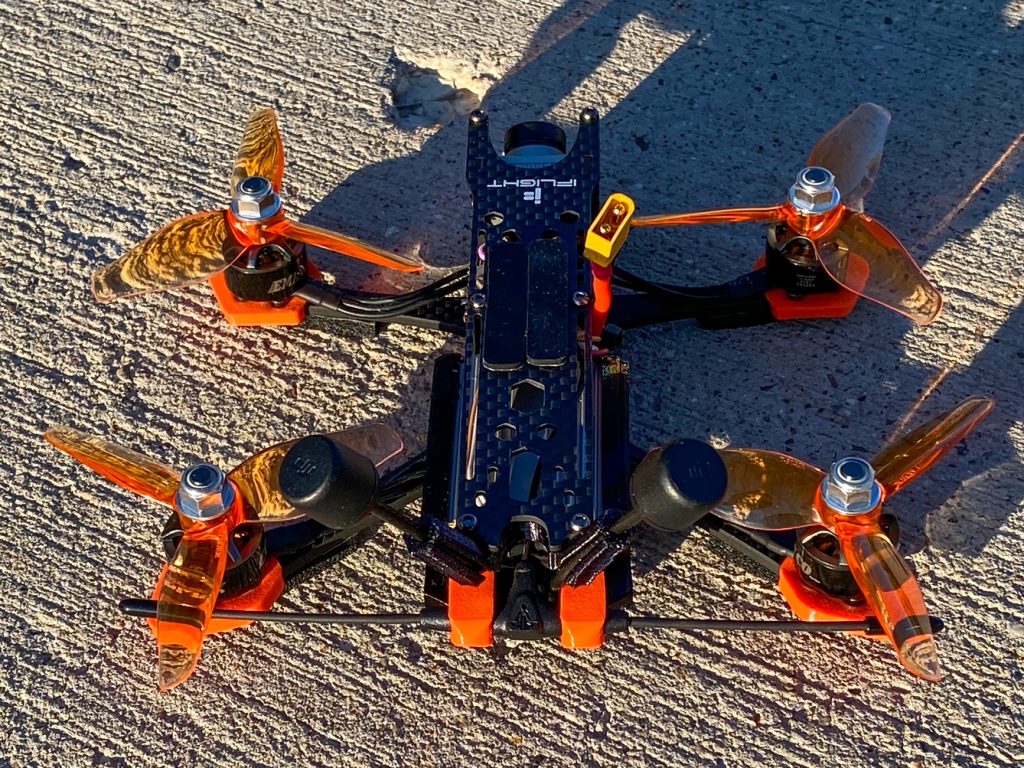
I went with orange TPU filament to go with the orange theme of the quad.
Flying
I’m about to do some real flying with the quad in the next few days and will post some performance comments, and flying videos soon. Overall I’m very happy with the build and the equipment choices.
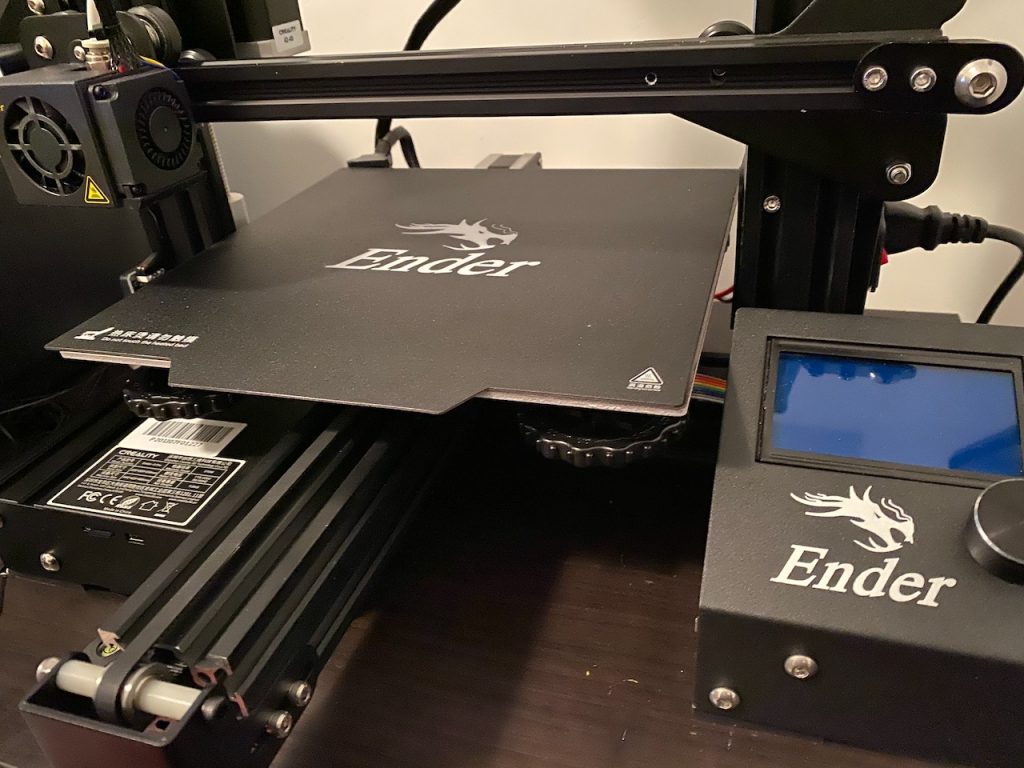
This past Christmas I got a new 3D printer, my first one. It is a Creality Ender 3 Pro. I’ve been tinkering around with it, learning how it works and printing a bunch of random things I’ve found on the web.
Just recently I started learning Fusion 360, which is a 3d CAD application. I’ve started to create some very basic designs, and have now produced TWO different unique parts for some of my drone fleet.
Immortal T Mount
First I needed a TBS Immortal T antenna mount for one of my DJI HD based quads. Check it out.
Yeah it is basic, and I’ll probably move the antenna to the middle or back later but these mounts are working great.
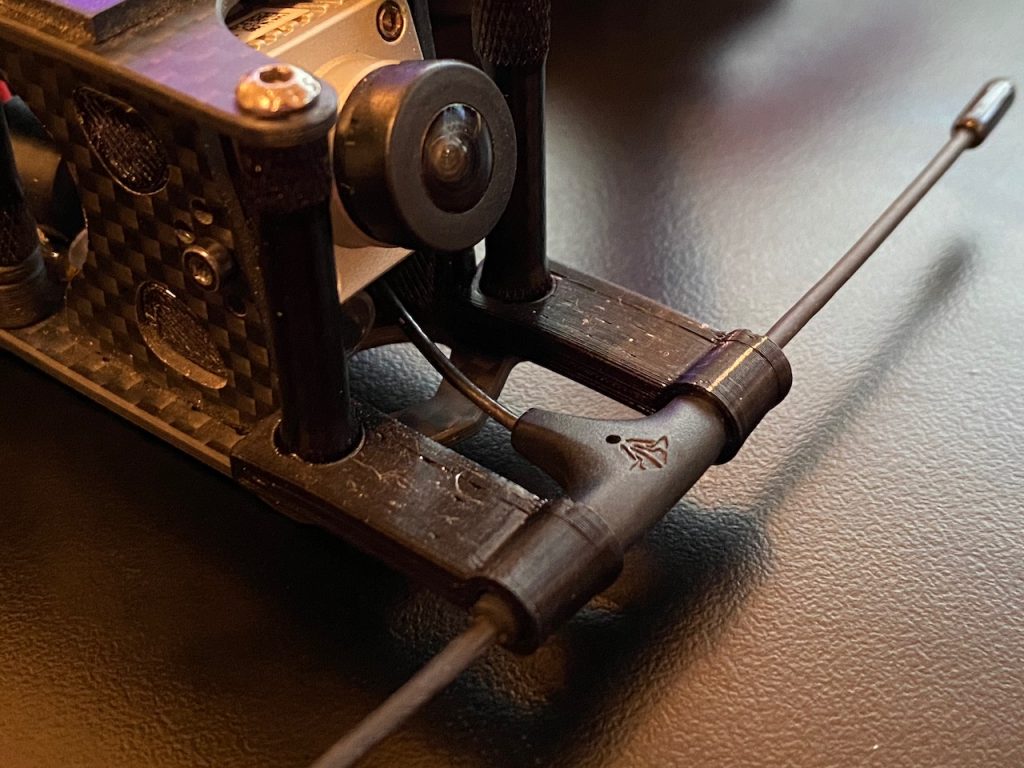
Ummagawd Acrobrat Antenna Mount
After breaking a few antenna mounts and a VTX, I ended up zip tying the antenna to the frame. That was OK, but the antenna wasn’t in a great position and was still very susceptible to damage.
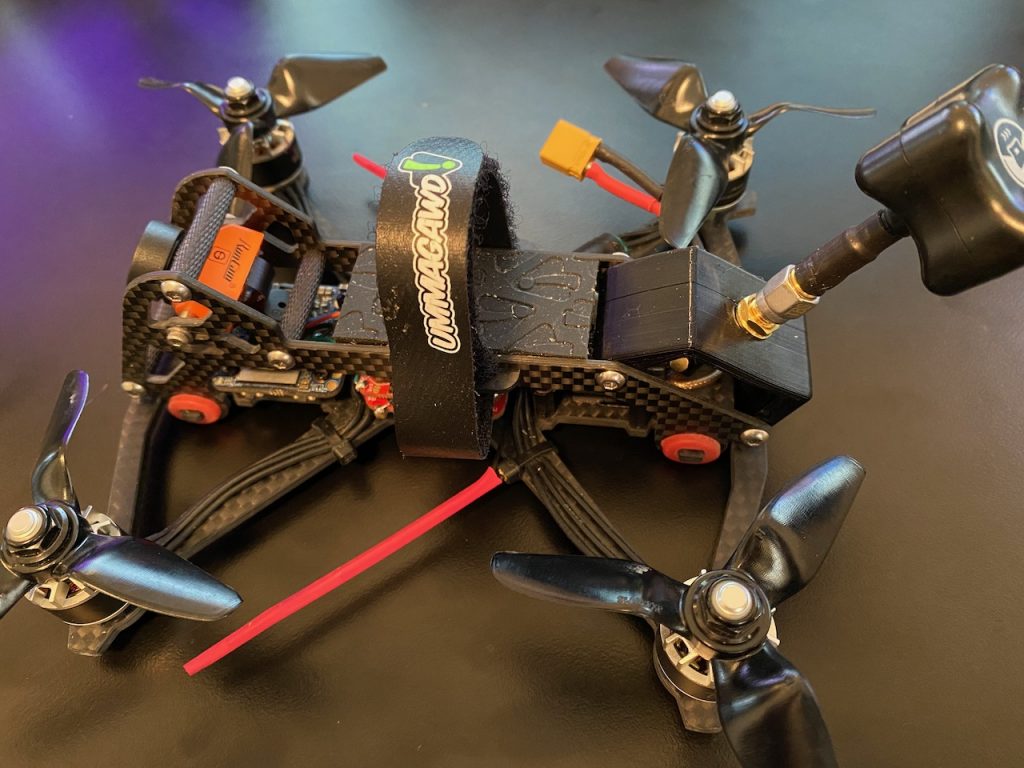
So I whipped up an antenna mount in Fusion 360. Took a bit of a wild guess on the angle, and got it nailed. The antenna is just about perfectly vertical when the quad is flying forward.